A first (draft) version of the mainboard schematic is available here:
https://rgb-clock.googlecode.com/svn/trunk/pcb/RGBClock/Mainboard.pdf
Wednesday, October 23, 2013
Wednesday, October 9, 2013
Eagle library parts
I'm surprised to learn that creating Eagle library parts is actually quite easy; see this tutorial:
http://www.msilverman.me/2010/06/creating-a-new-device-in-eagle/
And it is even faster when you copy a existing symbol/package. In my case the library for the Si4735-D50 FM receiver...
http://www.msilverman.me/2010/06/creating-a-new-device-in-eagle/
And it is even faster when you copy a existing symbol/package. In my case the library for the Si4735-D50 FM receiver...
Monday, October 7, 2013
Schematics of PWM LED driver prototype board (PCA9685 and ZXLD1362 as main components)
I have uploaded the schematics of the PWM driver prototype board. It was just a test board to get started with Eagle software.
You can view the schema here. I'll start the schema entry of the other boards in the next days; all files will be available on the source page.
You can view the schema here. I'll start the schema entry of the other boards in the next days; all files will be available on the source page.
Thursday, September 5, 2013
Software development
Continuing the software development of my alarm clock. I have added the automatic detection of units (display units, light units) via the I2C bus. I will start with the alarm function (main feature :-))
When this is complete, i'll start redesigning the new PCB's:
- Main unit (FM Radio, RTC clock, I2C and Audio buffers)
- Display units (Display, Amplifier, Touch button sensor, Licht sensor,...)
- Light Units (PWM control, LED driver)
When this is complete, i'll start redesigning the new PCB's:
- Main unit (FM Radio, RTC clock, I2C and Audio buffers)
- Display units (Display, Amplifier, Touch button sensor, Licht sensor,...)
- Light Units (PWM control, LED driver)
Thursday, June 27, 2013

Wednesday, June 26, 2013
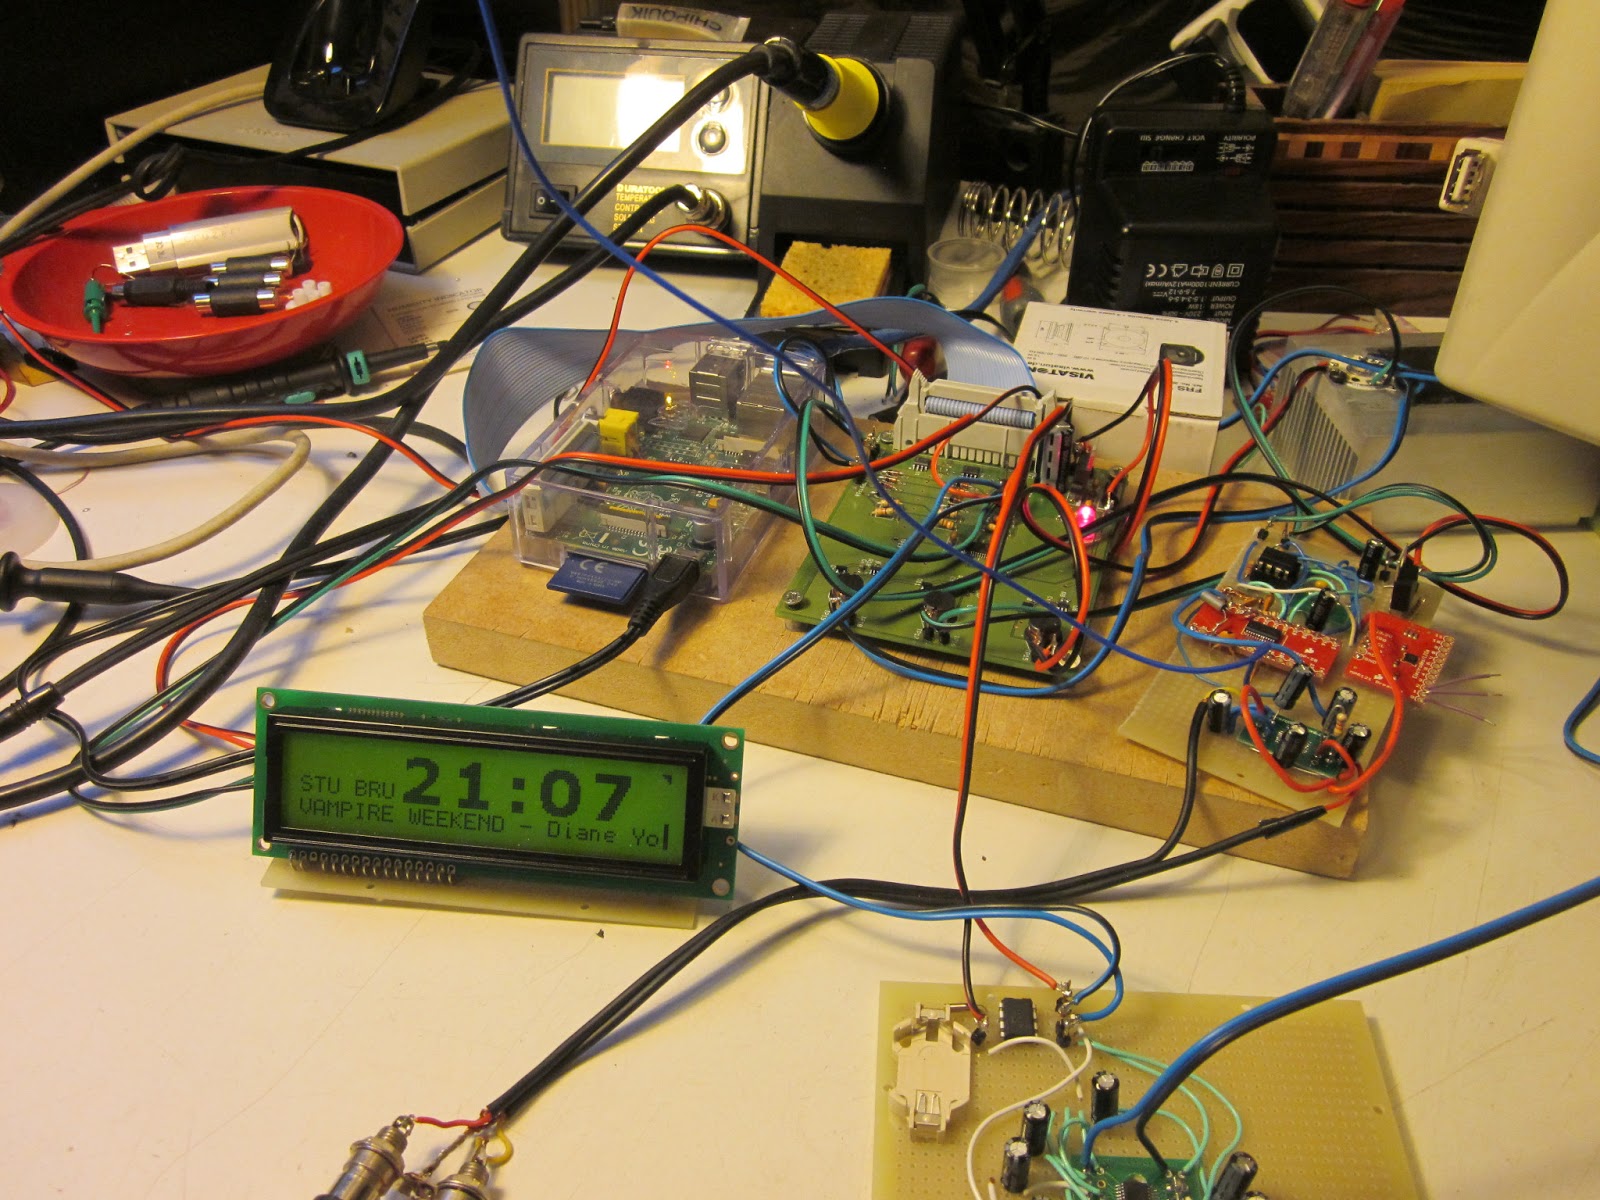
Started writing the actual software
Alpha version of the hardware has been a little bit cleaned-up.
Started to write the real software. All previous software was just about testing hardware. I'm now writing the application as I want the application, re-using the previous test classes.
Looking nice ! Keyboard is working; i'm able to make the difference between short and long keypresses. Accuracy of the MPR121 is actually (after some tweaking) very good.
Connected the light to the keyboard events; i'm now able to control the (RGB) Leds; PWM dimming !
Radio (FMReceiver and Amplifier) is also connected to these keyboard events. Coded some shortcuts, but i'm able to control the volume of the amplifier.
Next:
- Add more features to the Light: slow startup of the light intensity (wakeup with light). Manual power on and off; make it less abrupt (need some sort of fast dimm off, dimm on.
- Clean-up the radio & amplifier code
- Connecting the display classes ...
- Actual writing the alarm settings & processing....
- ....
Thursday, June 20, 2013
- Raspberry Pi
- RGB PWD control (PCA9685 + ZXLD1362)
- I2C bus extender (P82B96)
- Radio circuit (Si4730)
- Audio line buffer (DRV612)
- Amplifier (TPA0172)
- LCD Display (Newhaven Display NHD-16032AZ + MCP23017)
- Light sensor (TSL2561)
- Touch button sensor (MPR121)
- Create all PCB's
- Actually writing the software
- Testing... lots of testing....
- Add an extra IO Expander (driving relay's)
 |
Subscribe to:
Posts (Atom)